|
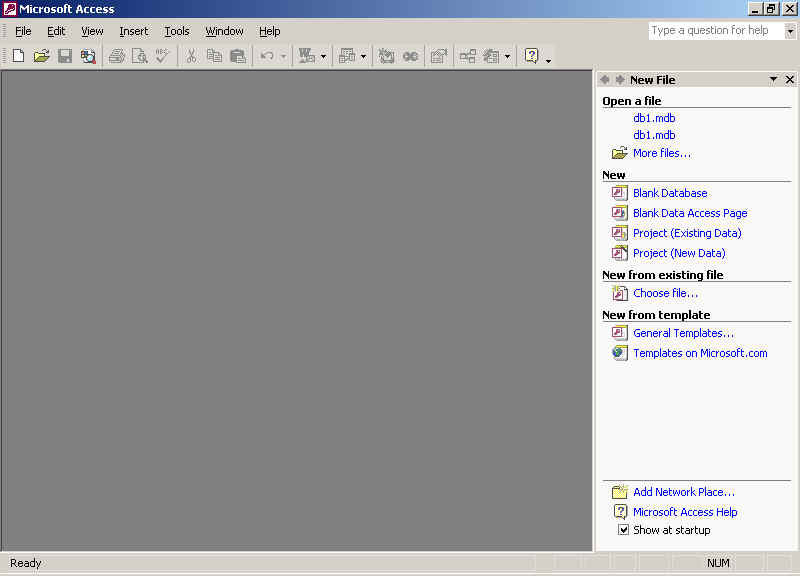
Everything You Ever Wanted To Know About A data base is "a comprehensive collection of related data organized for convenient access." (infoplease.com) Data bases are useful for any collection of data that can change and from which reports are often run for informational purposes. Some common uses for data bases are: company mailing lists, club memberships, and student grades. Below are several screen shots that will assist you in learning to create a data base using Microsoft Access. Some of the screens are actual links ... click on them to see a full screen, which will make it easier to read! It will open up in a new window, so when you want to return to this page, just "X" out or close that browser window. To open Microsoft Access, click on "Start" ~ "Programs" ~ "Microsoft Access."
Click on image to enlarge This is the first screen that you will see. On the taskbar on the right hand side, click "Blank Database" under the heading, "New." You will be asked to name your database. It is at that point that you can decide which folder you would like to save it in. The default screen is to save it in "My Documents" and the default name is "db1.mdb." Saving it into "My Documents" is okay, but if you continue to use the default names of "db1" and "db2" you really won't know which data base is what. We suggest giving it a name to identify it.
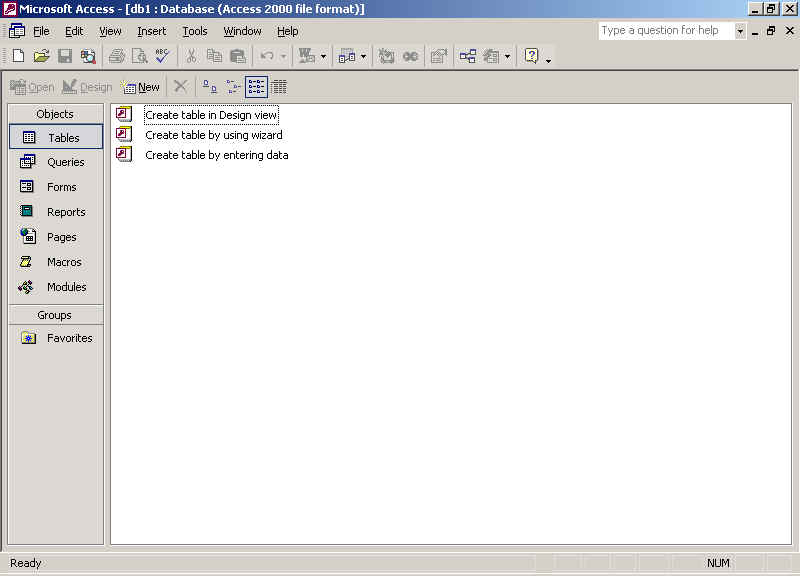
Click on image to enlarge Beginners should use the "create table by using wizard" option until you become more familiar with the concept of a data base and with the program features.
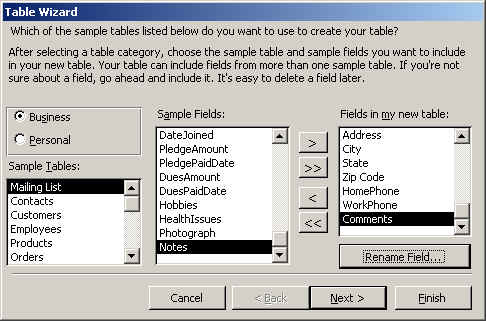
Using the ">" button, select those fields that you desire. At this point it is best to think ahead and consider what information will be important in the future. Will you want to send birthday cards to your data base? If so, you need to add birth date.
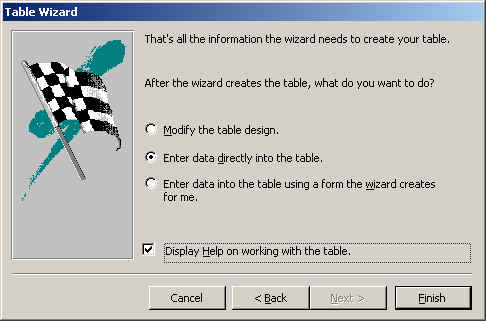
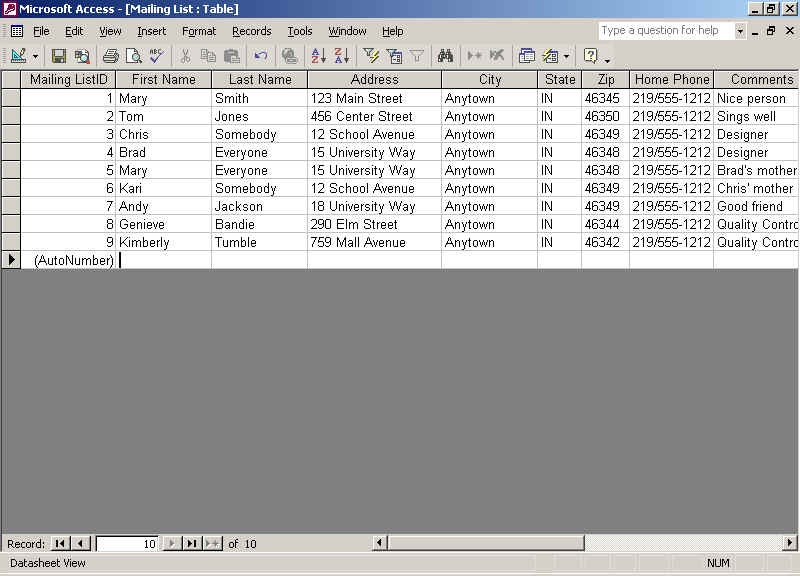
At this point you can modify the table design or enter the data into the table. We will take you through the steps of entering data directly into the table rather than using the wizard. Click "Finish."
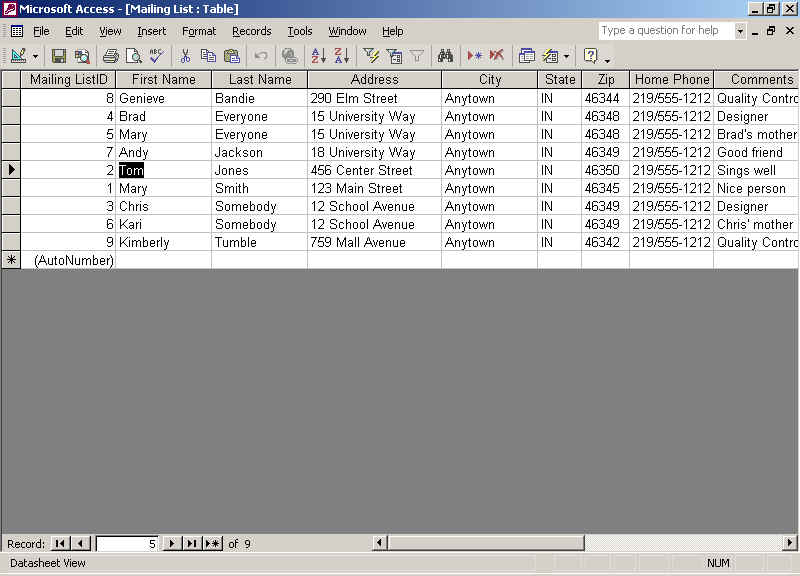
Click on image to enlarge The screen above shows data in the order that it is entered. To sort records, highlight the column you want to sort the records by. Click "Records," "Sort," and in most cases you want to sort in ascending order. We sorted by last name to get this screen:
Click on image to enlarge Microsoft
Access Students at Hobart Middle School, Hobart, Indiana To report problems with this page or broken links, contact Webmaster Copyright © 2003. All Rights Reserved |